Traditional Merida

So, after picking up some Stuart hunting tartan for a great kilt for Shane and an earasaid (the female equivalent) for me, I stumbled on what I really want for my Merida cosplay. I want her to be traditional! I layered the plaid over my dress while trying to come up with something for the Bristol Renaissance Faire this weekend, and I realized how natural Merida looked this way, and bam! Cosplay on the verge of being done! To say that I’m excited is an understatement. I think that Merida with a plaid is gorgeous! Plus! While it isn’t the tartan of DunBroch (which I have a bit of, see a previous post), it IS a tartan that I can wear, seeing as my husband wears the Stuart plaid normally.
20140726-084945-31785004.jpg

20140726-084943-31783590.jpg

Merida’s Tartan, Bear Pin, and Bow Ornament

So, over the weekend my custom fabric from Spoonflower came! I ordered it in a heavy cotton twill and in retrospect might have done something different, but it’s not terrible. I think after washing a couple times it will be a little less stiff 🙂 I still love it though! I ordered one yard at 56″, so it was the perfect length to fold it in half the long ways to make it a sash and taper the edges for a little pretty draping effect.
20140707-225117-82277186.jpg

I also got some Sculpey III clay and forayed into polymer clay for the first time. For the first attempt, I’m pretty happy with it. I may remake it when I feel like my skills are a little more consistent, but I still painted and colored it to use as is. I also made the medallion that goes on Merida’s bow, which was way easier. I attached 2 jump rings on the back before baking so I can string something around it and strap it to the bow. Speaking of hardware, I attached a skirt pin to the back of the bear buckle as well for all the fabric it has to gather!

20140707-225626-82586027.jpg

20140707-225627-82587435.jpg

It’s unclear whether the bear buckle is actually a belt buckle or a pin (I know, it’s really just a Disney face character thing anyways, but I think it’s a nice touch.), so I made it a pin so I can decide how I want to use it.
I can sling the tartan around my waist a lot like the face character, like this.

20140707-225928-82768133.jpg

20140707-225928-82768409.jpg

Or, I can wear it a little more traditionally over one shoulder, like this.

20140707-230009-82809496.jpg

So, needless to say, I’m super excited about this!

Here it is after painting the lower part black and actually using metallic sharpies for the silver and bronze, go figure.

20140707-230132-82892036.jpg

And the best part: with the tartan and dress!

20140707-230214-82934493.jpg

20140707-230230-82950708.jpg

20140707-230232-82952172.jpg

OMIGOD I MADE A BOW!! Part 1

It’s what, noon now? I had my PVC bow formed and test strung by 11. I can’t even believe how easy it was!
So, here is first attempt:

20140629-122053-44453136.jpg
About a month ago, I watched a couple tutorials and then ran to Home Depot at about 10:00 on a mission for a heat gun and PVC pipe. The above photo is what came of it. I was impatient, that’s for sure. This morning I decided hey, I just ordered a recurve of my own, let’s try to make a bow for Merida again. So, armed with whatever the hell that was in that photo and my heat gun, I went outside and came up with this in about an hour.

20140629-122349-44629946.jpg
SO much better.
After test stringing it, I took the field tip off of one of my arrows and closed my eyes and hoped the thing didn’t break when I pulled it back a few inches and let go…it didn’t! I’m still too scared to try it for reals yet, but that’s ok, it’s still pretty, and I’m still super proud 🙂

Merida Cosplay Part 2

I just finished my second session a couple days ago on Merida because I finally got her wig in the mail and was super ecstatic about how wonderfully perfect it was. Selfie time. I also invented the hashtag #princesstagram (Not really, but you know…)

Seriously, though, it’s perfect. It also makes me want to cosplay Marian from Robin Hood Men in Tights:

Anyways, this led me to a frenzied couple hour session with the express purpose of getting at least one sleeve on the dress. This happened. But just the one sleeve, and the neck ruffles.

I cut the notch and sewed it like the pattern called for, and then I basically created a two tiered ruffle using the same technique I did on the cuffs. I ruffled the edging about 1.5” down from the fold on each side, and then started a new ruffle about 3” down in the middle for the notch. You can see the pinned result above, and then the sewed and trimmed as well below. I decided that since we don’t see a whole lot of Merida’s back between just not seeing it in the show and her hair, my ruffles would end at the sleeve seams, since the back of my dress laces up.


I used my preferred method of “pin and shove through machine” to attach the sleeve to the dress. It was a pain, but I think it looks good and I can move around in it, so success all around.

Front and back shots. I pretty much want to wear this wig all the time, now.

If I walk sideways everywhere, I’m done!

End of second session because I had to go to work, boo.


-Kelsey

Merida Cosplay Part 1

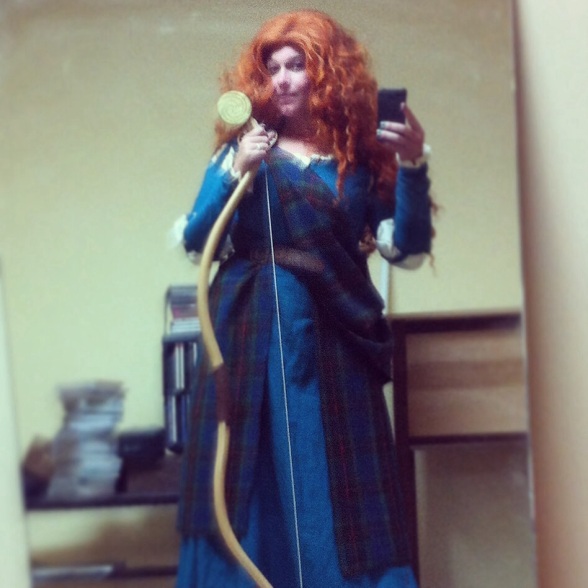
We are new to the whole cosplay world, only because we haven’t really been to any cons. Shane and I take Halloween very seriously, so cosplay is a natural progression (right?) Here is the beginning of my first serious cosplay costume: Merida!


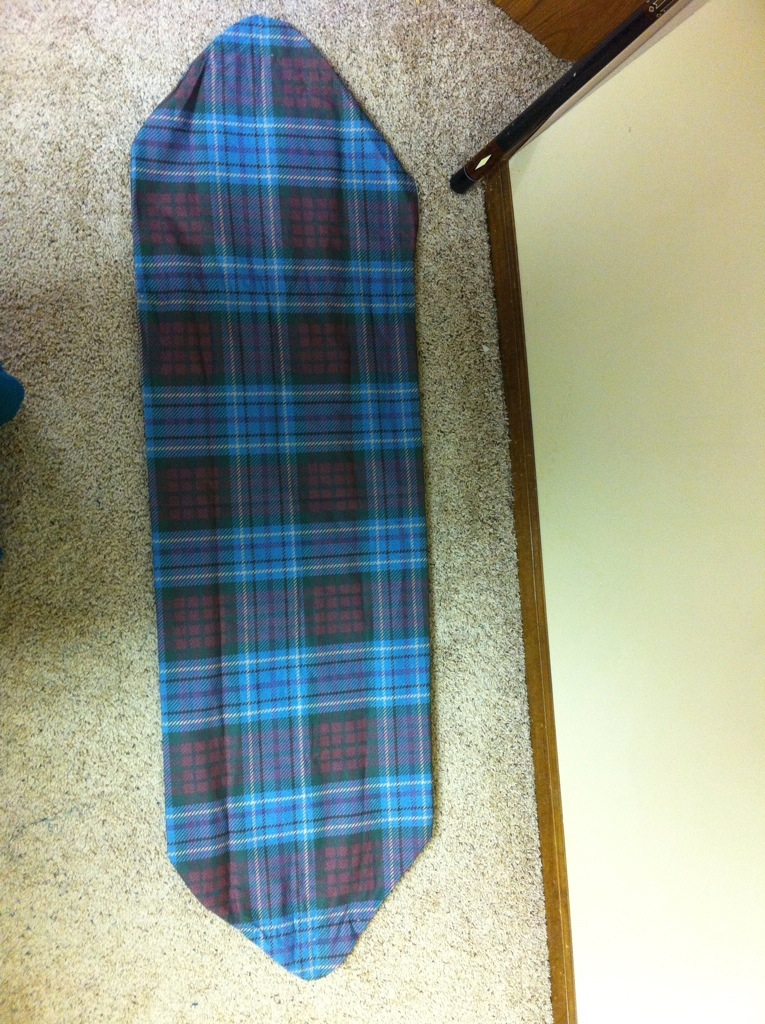
Fabric: The fabric is a lightweight linen blend from JoAnn Fabrics. I can’t even begin to describe the color as I was stupid enough not to check the name. I know I have enough, though, I bought the whole bolt which had about half a yard more than the pattern called for. It really is the perfect color, you’ll see it shift throughout this blog with lighting, but it is pretty true to how it shifted in the movie too, so I’m super happy 🙂 The accents will be a slightly cream linen, that you see to the left of the first image.

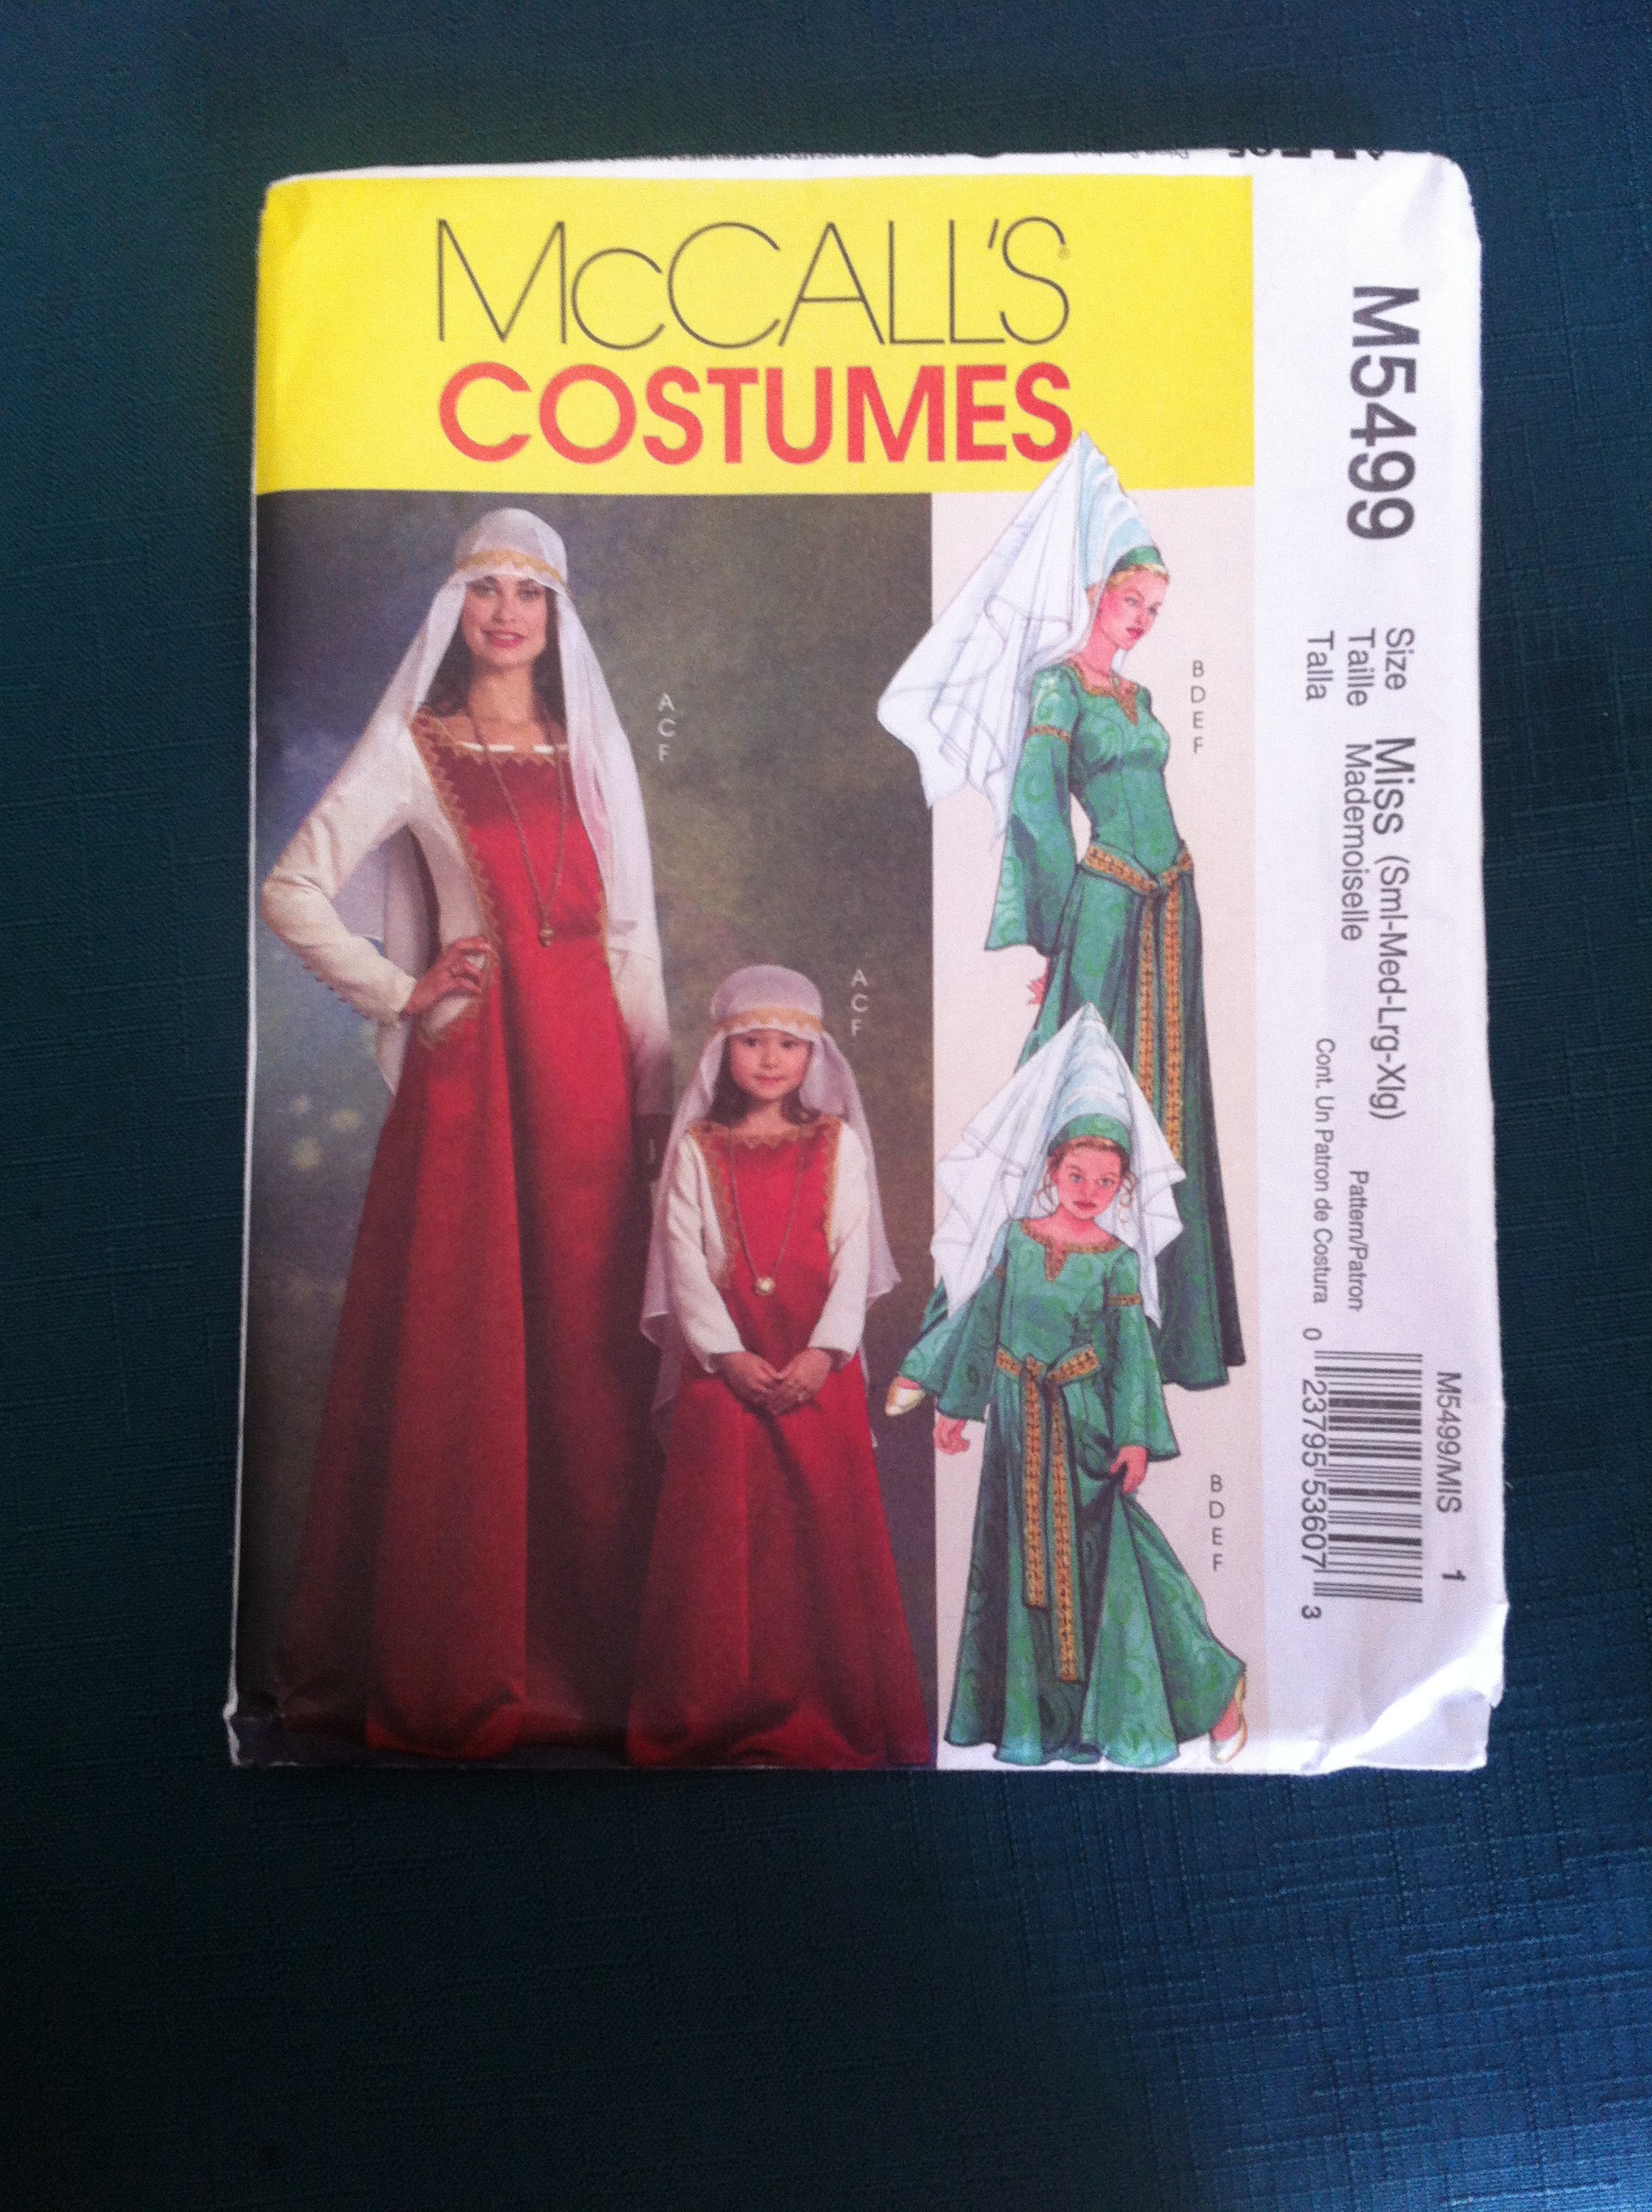
Pattern: I selected McCall’s M5499. I spent an hour searching through the books for something that would be as close as possible, for the best price, knowing I’d have to change it a bit. I settled on McCall’s for a number of reasons, but mainly because I felt like the dress on the right by itself was very close to Merida’s, with the exception of the sleeves, which I knew I was going to have to drape and pattern myself. The back is a lace up. Not a corset-tight-as-possible look, but a relaxed-this-is-how-they-did-it-before-zippers look, which is exactly what Merida would have wanted.

On to some crappy photos of my first session!

That mirror is embarrassing, so please disregard how grimy it is. I was on a roll, so cleaning a mirror was not a priority. I used the shortening/lengthening areas of the pattern to place my waist, and it actually worked a lot better than the last time I tried to do it, so that’s cool. For me being so short, I cut the length as it was for then and it has since seemed to work out better than expected.

The SLEEVES. Ohmigod, the sleeves. First, I cut out the sleeve that was listed for the first dress (Not the one I was using with the bell sleeves). This I put on and marked where I wanted the sleeve sections to sit on my arm. I really should have paid attention to the amazing Merida blog by Angela Clayton, and maybe my life would have been easier, but I love to make things complicated that end up looking pretty decent, so there’s that.

Sidenote: Check out Angela’s effing gorgeous Merida here! http://doxiequeen1.wordpress.com/2013/04/23/the-making-of-a-merida-cosplay-brave-part-1/ (She makes her wig, which I just didn’t want to attempt for a first time.)

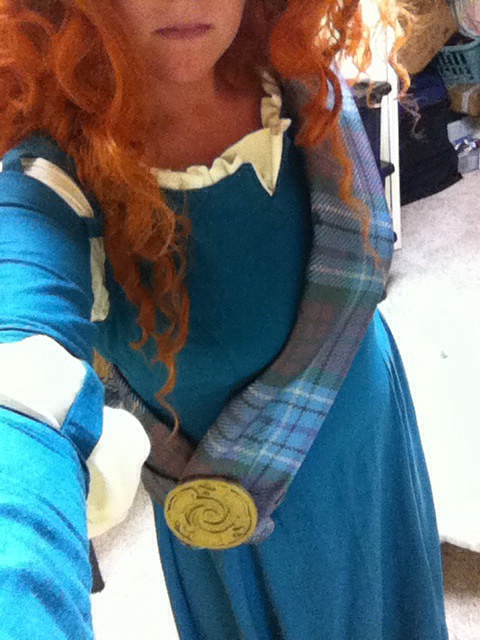
Here is my sleeve. I ended up starting with the two sections, then eyeballing in the right amount of puff for the cream parts and strips, pinning it all together and shoving it through my machine. I think that that was a good tactic…(Sarcasm) But, I am pretty happy with them overall.


You can see the original sleeve cut out at the top of the middle picture. That’s also about how much cream fabric went into the elbow, before I trimmed it off. The ruffles at the edge were made by ironing a length approximately 3x as long as my wrist width and then stitching it with no backstitching at the beginning or end with the longest, straightest stitch my machine could do. I then gathered it by tugging on one of the threads (Can’t remember if it ends up being the main thread or the bobbin thread), pinned it, and sewed it.


Thus ends my first session on Merida, I don’t expect this to serve as a tutorial, but I hope it is interesting and maybe helpful 🙂


-Kelsey